

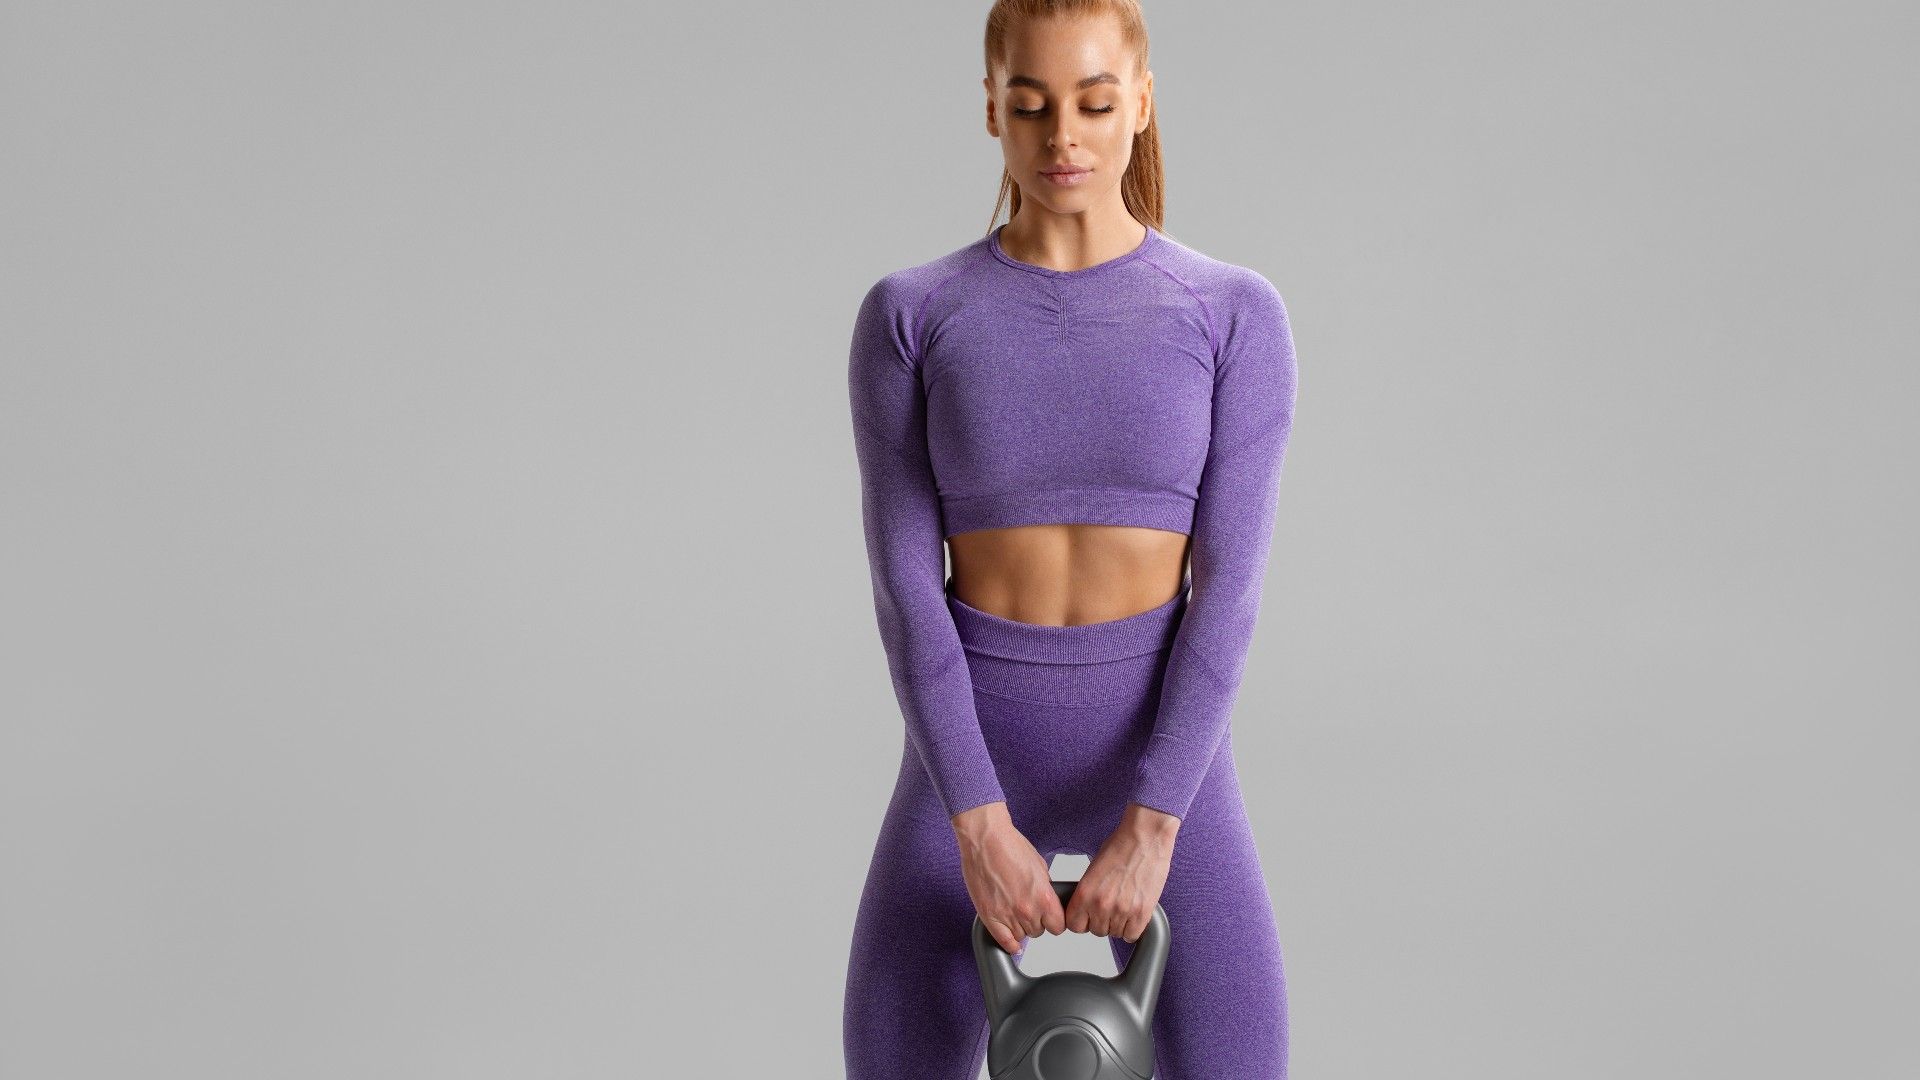
Adding load to mobility exercises is a brilliant way to supercharge them; more resistance, more work, more control…more gains.
This exercise opens your hips and stretches your glutes, making it one of the better hip mobility exercises I’ve used over time with various clients. I highly recommend one of the best kettlebells, but not anything too clunky, as that will limit range of motion.
Intrigued? Here’s the move, plus the benefits. And all you need is a weight and a bench or something similar.
How to do the kettlebell figure-4 deadlift
I see this move butchered, and sadly, it will put strain on your shoulders and back, so we need to maximize glute activation, engage the core muscles and hinge at the hips. Shoulders must be pulled back, and your back should stay straight throughout, just like you would during a standarddeadlift.
My best advice is to add load gradually, adjust your reps, or play around with a slower tempo to get the most out of this kettlebell exercise. The payoff is more protection for your back, better hip strength, range of motion and stability, and active glutes.
I see this move butchered often…
Here’s how to do the kettlebell figure-4 deadlift properly.
- Stand with a box, bench, or similar to your left side.
- Position the outer side of your right foot on the top edge of the box and draw your right knee down, squaring off your hips to create a figure-4 shape.
- Hold a kettlebell by the handle using both hands.
- Hinge forward at your hips, send your butt back and lower the weight through the gap in your legs, as if performing a deadlift. Your back should be straight and shoulders drawn back, core active.
- Lower as far as you can until you feel a deep stretch in your glutes, hips and hamstrings, then drive upward to stand.
- 3-4 sets, 6-8 reps per side.
Common mistakes include:
- Hunching: I often see people hunching just to lower the weight further. Think about keeping a straight line from neck to lower back and imagine you’re shutting a car door or cupboard door behind you with your butt.
- Rotating:It’s easy to start rotating to one side if one side of your body feels tighter than the other. Keep your hips square and chest forward and proud.
- Forcing the knee: If you find it difficult to open your hip and draw your knee down, this is due to limited mobility and tightness. Over time, and with practice, this should improve. Don’t force your knees; just meet your body where it is.
Over time, add load to make the exercise more challenging. You can still perform this move if your knee doesn’t align with your foot, but be careful not to move through pain. If the exercise hurts, stop, and consult a relevant medical professional.
You want all that action in your hips, glutes, core and hamstrings. Think about tucking everything in and drawing your navel toward your spine. As you exhale, that’s your time to lift the weight; as you inhale, that’s the time to lower the weight between your legs. Use that breath. Think about lowering down slowly, then driving up powerfully.
FollowTom’s Guide fitnesson Instagram for more workouts, routines, tips, and tricks.
If you, like me, struggle to engage your glutes during leg day workouts, or you find that one side fires up better than the other, working one side of your body at a time like this will help you learn about any imbalances or areas you may be neglecting.
- I teach people to be more mobile in their 60s and 70s: 3 low-impact exercises you should start with
- Forget burpees —the ‘Pilates burpee’ is beginner-friendly and low-impact (and you’ll love it)
- A yoga instructor says this is the 5-minute yoga routine you need for strong and mobile hips and core muscles
