

As headlights are constantly subjected to the elements, it’s no surprise that the casing can become milky or yellow over time.
Naturally, this discoloration impairs <a href="https://myappsplus.com/50-new-things-your-iphone-can-do-in-ios-27-out-now/” title=”50 New Things Your iPhone Can Do in iOS 27 – Out Now!”>your visibility while driving, preventing you from seeing the required 100 meters ahead of you on the road. Additionally, headlight bulbs can dim over time and eventually require replacement.
Read on to learn how to diagnose the root cause of the problem, along with a few simple ways to fix it using common household products.
Why headlights become cloudy
Headlight casings take the brunt of outdoor weather, making them particularly vulnerable to oxidation.
Casings are factory-coated in a clear protective layer to prevent the acrylic from oxidizing, but over time that layer wears off and UV rays cause the plastic to turn yellow.
At the same time, road debris scratches the protective outer shell while dirt builds up and dims the light output.
In other cases, the watertight seals around the housing degrade over time, allowing water vapor to gather inside the casing and scatter the light beam from within.
Locating the problem
The issue is either on the exterior or interior of the casing. If it’s on the inside, cleaning the outside of the lens won’t remedy the problem.
To check,run a fingernail across the headlight lens. If the surface feels grainy or catches your nail, the oxidation is on the outside of the casing, and you can use one of the simple cleaning methods below to clear it up.
However, if the lens feels completely smooth but still looks cloudy, the problem is trapped moisture inside the unit or heat damage from blown bulbs. In this case, exterior cleaning won’t improve visibility, and the headlight assembly will need to be unsealed, resealed, or replaced entirely.
The toothpaste cleaning method
Begin by washing the lenses with ordinary dishwashing soap and warm water to clear away lingering dirt and grime. Once dry, apply painter’s tape around the edges of the headlight assemblyso you don’t accidentally scratch your vehicle’s paint.
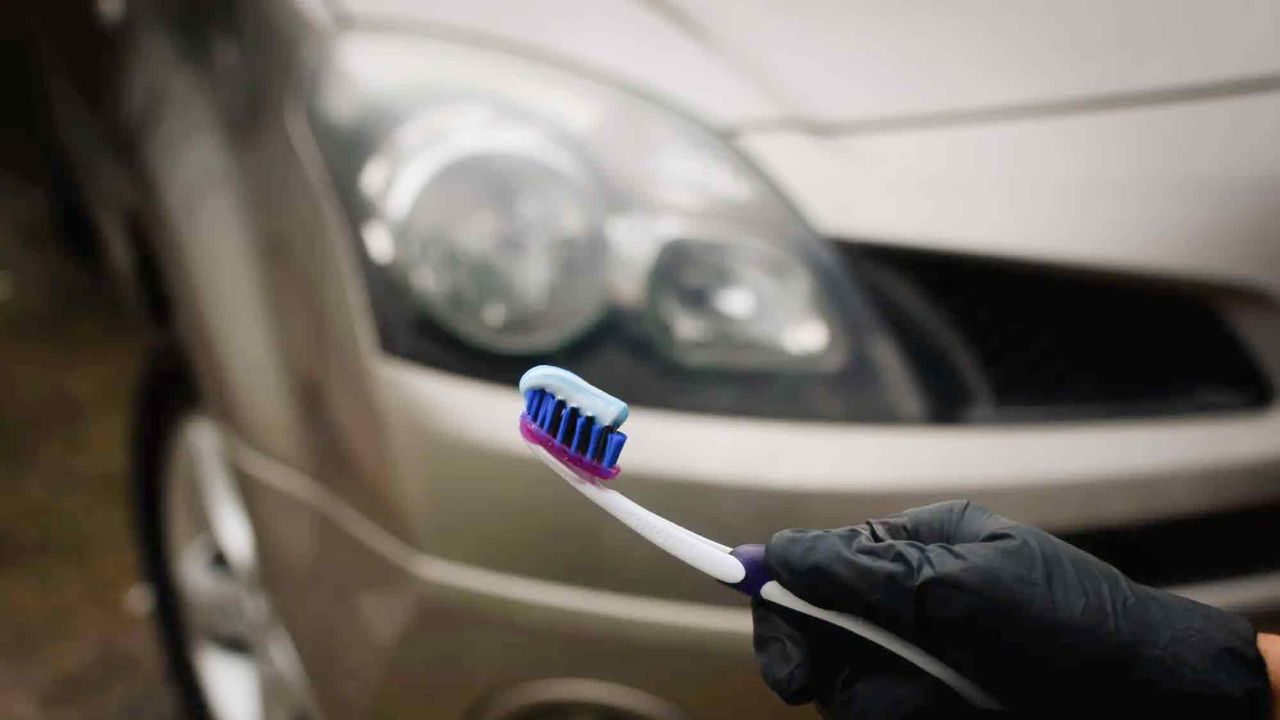
Apply a toothpaste containing baking soda to the lens. The baking soda is essential because it provides a gentle, abrasive grit.
Using an old toothbrush, scrub the lenses in firm circular motions until the toothpaste begins to discolor. Let the paste sit and dry for a few minutes, then gently wash the casings clean using warm water and a soft cloth.
Now that you’ve scrubbed away the oxidation, the raw polycarbonate plastic is completely exposed to ultraviolet rays. Without protection, the casing will turn yellow again within a month.
Immediately after drying the headlight casings, apply an automotive UV sealant(such as Meguiar’s Keep Clear Headlight Coating). This protective layer locks in the clear finish, ensuring great visibility on the road for much longer.
- 7 car cleaning tips to make yours look brand new
- You’re only using 1/3 of your garage door remote — here’s what the extras buttons do
- 5 easy ways to make your car’s AC stay cooler for longer
