

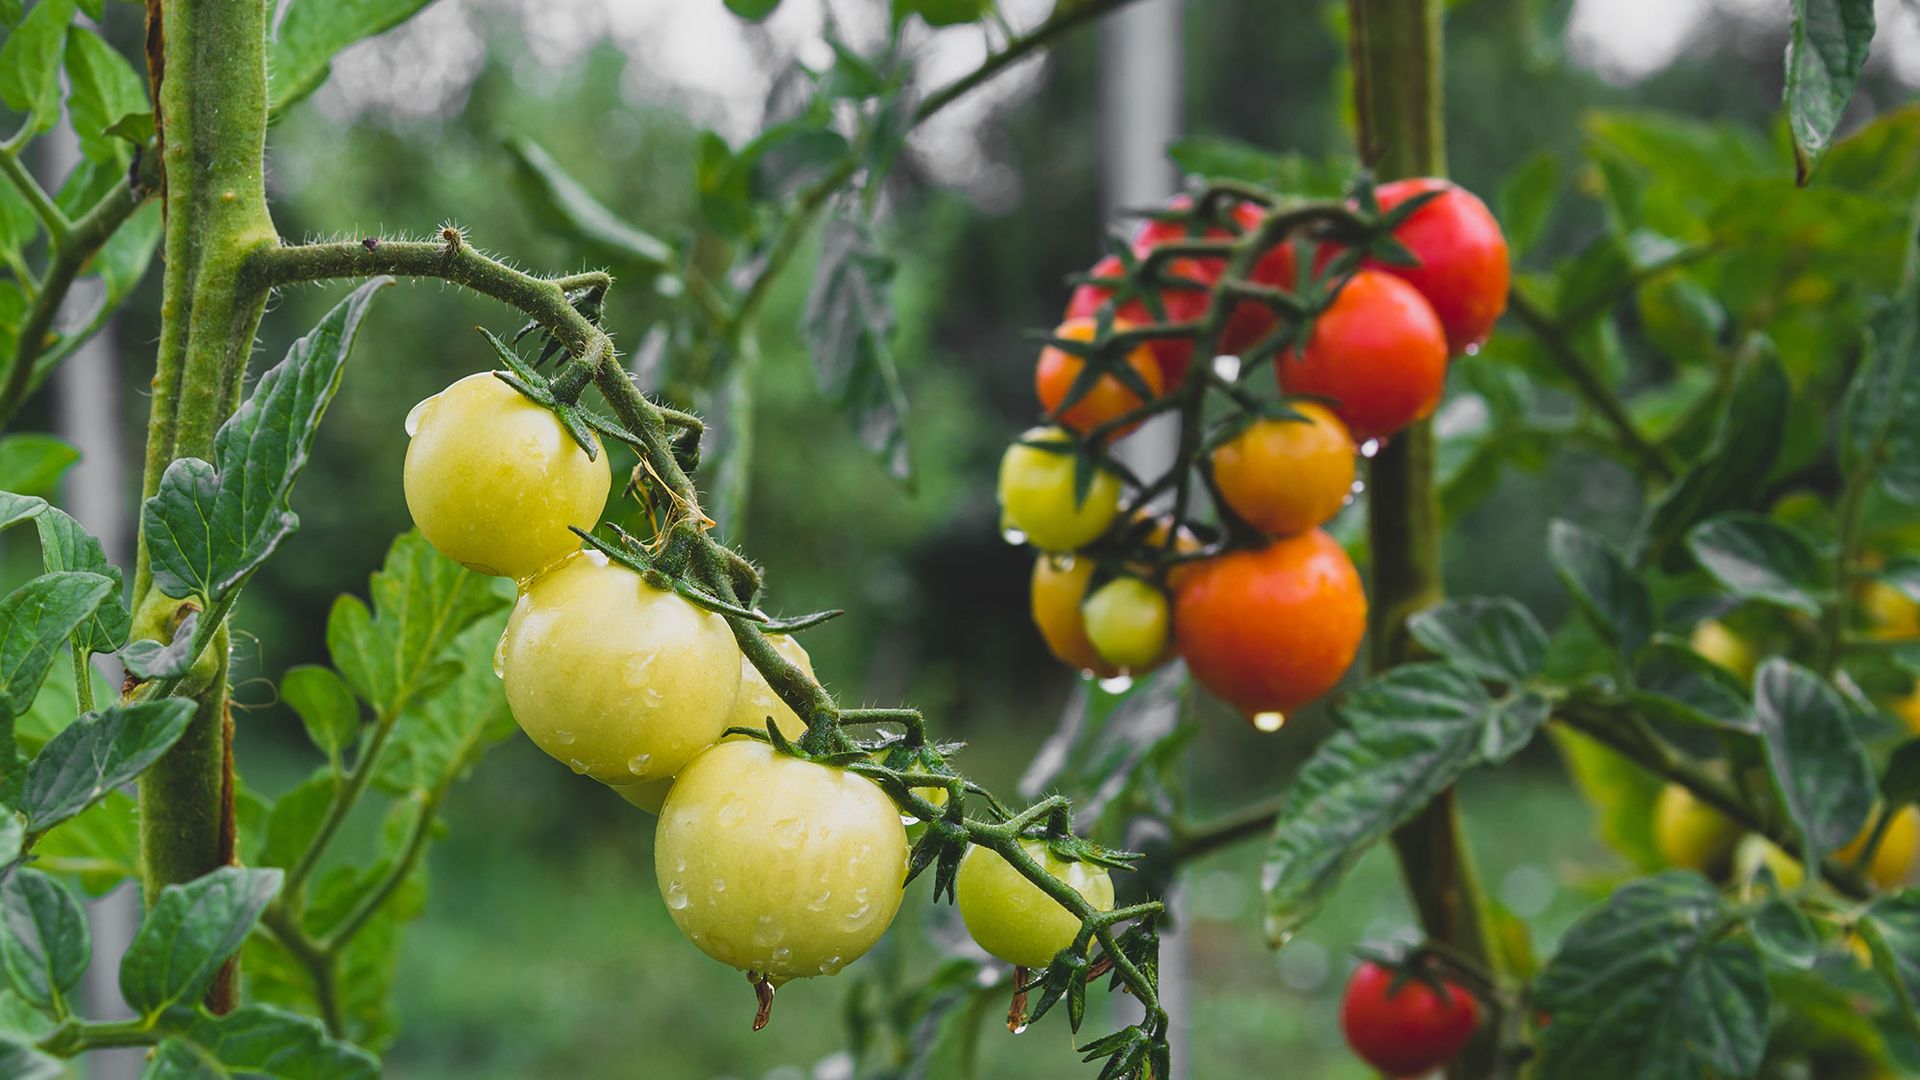
As those golden summer nights give way to fall’s crisp chill, your tomato plantsare likely nearing the end of their peak season.
While your vines may still be heavy with fruit, the clock is ticking on warm weather, and it’s time to wind down your tomato patch and put your garden to bed for the season.
How you care for your fruit and plants now will make all the difference in getting a juicy late-season crop and healthy soil to set your patch up for next year.
1. Harvest your fruits before the first frost
To avoid wasting your harvest, Danielle Sherwood, managing editor and master gardener at Epic Gardening, recommends picking your fruits before the first frost warning. She says, “As long as they are not completely green and hard, they will ripen indoors.”
So, how do you ripen green tomatoes? Sherwood advises placing your unripe tomatoes in a single layer in a cardboard box, and adds, “Check them every few days and toss any that go soft.”
While Andy Thewlis, farm manager at The Inn at Little Washington, has another method similar to Sherwood’s, but instead of placing them in a cardboard box, he uses a paper bag and stores them at a temperature between 70-75°F.
Ethylene can also speed up ripening, so adding fruits like ripe bananas, apples and avocados, which release a lot of the gas, can help your tomatoes blush!
Top tip
If you want to rescue the hard, truly immature ones, Sherwood suggests trying fried green tomatoes or salsa verde.
What about seed collection?
You can go further by saving seeds, but Sherwood says check your variety first. “You can save seeds from heirloom or open-pollinated varieties, but hybrids won’t turn out like the parent plant and need to be repurchased if you want the same type.”
2. What to do with your tomato plant: Pull up or prune?
You might be wondering whether you should pull up your tomato plant or prune it at the end of the season. Thewlis puts it simply: “Remove the top, preserve the bottom,” but what does that mean?
He starts by cutting the stem above the soil surface. “Use the serrated edge of a soil knife to carve out the bottom three inches of the submerged stem, and allow the residual root structure to remain.”
And he adds, “Over time, these roots decompose, leaving behind underground channels for air, water, and earthworms to travel.”
After you cut the plant, if the top is healthy and disease-free, you can add this section to your compost.
3. Spot check your plant for disease
Don’t forget to check your plants for disease symptoms or pest infestations. “If left unchecked, the disease (and pests) can overwinter in the soil, coming back to plague your plants next year,” explains Sherwood.
Wilting, discoloration, fuzzy growth and dark spots, are all signs of disease. If your plant looks unhealthy, she says pull the whole plant up, including the roots.
Garden Gloves (2-pack): $9
These garden gloves are made of nylon and nitrile and come in three sizes — small, medium and large. They offer excellent non-slip properties, are comfortable around the wrist, breathable and machine washable. At Tom’s Guide, we recommend them as the best overall gardening glove.View Deal
4. What’s the best way to dispose of tomato plants?
If your tomato plants look healthy and show no signs of pest infestation or disease, Sherwood recommends adding them to your compost. “Chop them up first if you want to speed up the breakdown process,” but she adds, “If the plant is unhealthy, bag it and put it in the trash.”
5. Give your soil a treat?
After working hard to grow and support these delicious fruits, and fertilizing your tomatoes at the right time, your soil deserves some care once the growing season is over.
Thewlis says, “Tomatoes have a voracious appetite,” and that “Abundant fertilization is essential for your subsequent crop’s success.”
Therefore, replenishing your soil’s fertility with minerals is an essential task for tomato growers. He recommends choosing an organic fertilizer designed specifically for the nutritional needs of your next planting.
Sherwood also adds that applying compost to your soil can act as an insulating blanket over winter, while the nutrients are slowly absorbed.
However, if you prefer to keep your beds active, she says, “Trying planting a cover crop, which also acts as a green mulch to protect the soil and suppress new weed growth. In the spring, you can chop and drop the plants before planting new crops.”
What is a cover crop?
Cover crops protect the soil’s surface and can also provide your soil with rest, nutrition, and aeration. You typically plant them in fall and winter, after summer crops have finished. There are four types of cover crops: grasses (such as ryegrass and barley), legumes (such as alfalfa or clover), brassicas (such as radishes or turnips), and non-legume broadleaves (such as spinach or flax).
Over to you
How did your tomato patch fair this season? Did you enjoy a bumper crop or have a bit of a battle with the elements? Drop a comment below and let me know — and tell me your favorite way to enjoy them, whether that’s sliced fresh with a sprinkle of salt or cooked into a delicious sauce!
- 3 ways to tell that your tomatoes are ready to harvest
- Why your tomatoes aren’t turning red — and the simple pruning fix gardeners miss
- 3 expert-approved tasks you must do in October to get your yard ready for fall
